
There are so many ideas to do with the Ikea Billy Bookcase out there. I would like to share how these ideas gave a new look to my living room. As most of you know we moved into our home back in the fall of 2019. It was pretty much a blank slate. Beige and white walls everywhere. Since January of 2020, my daughter and I have been adding personality to this wonderful home.
Room Challenge
The first thing that we like to do is paint the walls. This gives the decor a great foundation to shine. Then after painting, we start adding the furniture and accessories.
Well, we did this to the living room and felt like something was missing. You see this is the room that greets everyone that comes to our house. We felt like it needed some wow factor. It’s the room that gives that first impression. Wanting it to be formal but not too formal. After changing the furniture layout a couple of times we knew we had to add a large focal point.
Let me explain what we had to deal with. As you walk through the double entry doors take two steps down onto a tiled entry that expands the length of the living room. This is about 6 feet wide by 25 feet long. Running along this tiled area about 15 feet is a step down into the living room. This is what separates the entry from the living room. At the end of the room is a half-rounded wall that encases the staircase. To the left is a large window that takes up the whole wall. The back wall extends up to the vaulted ceiling above the second floor. The room is about 13 feet wide by 16 feet long.
The furniture we had was either too big or too small. We had to come up with a solution.

Notice the electrical outlets on the wall. There are three that we still would like access to. Keep reading to see what we did.
Turning To Pinterest
So of course as most of us do we turned to Pinterest. There are so many great ideas out there. It’s hard to decide which way to go.
My daughter kept pinning these Ikea Billy Bookcase hack pins. She thought that this might just be the solution. A big focal wall that could add some dimension as well. She was right!

Ikea Billy Bookcase
Then after painting the walls we took measurements of the wall to see if this would even work. Being so wide and tall it could look really awkward if we didn’t do it right. The wall being two stories tall wall could be a challenge on its own.
I forgot to mention the niche that is partly over the staircase and living room area. This makes the wall we are putting the Ikea Billy bookcase on a little harder to configure.
The bookcases come in two different heights 79 1/2″ or 93 1/4″. This added to the decision. Deciding that we wanted the taller of the two to help fill the wall. The Billy bookcase has a choice of heights but both are the same width of 31 1/2″ wide.
The next decision to be made was how wide we wanted our Ikea Billy Bookcase built in to be. Did we want the whole wall filled? From the window to the staircase or just the middle with an area for chairs on each side.
Pinterest had so many different versions to do. Our inspirations are shared below.
These women did such a good job explaining how they built their Billy Bookcase hack.
Below these inspiration pictures, I will tell you which way we went. Keep reading to see what we did.
Here is another hack for you to check out. Turn a coat closet into a mudroom.
Ikea Billy Bookcase Inspiration
DIY Full Wall Bookcase

DIY Partial Wall Bookcase

2 Different Size Ikea Billy Bookcase Built Ins

Our Ikea Billy Bookcase Decision
Liking the idea of two separate bookcases to highlight art in the center and putting my favorite loveseat in the center was the first way we were going to go. Then realizing there was no way to make it look like a built-in with the tall ceilings if we did that.
We opted for the full wall version. I am so glad we did I love all of the shelf space. Getting ahead of myself there. Since deciding on the full wall of Ikea Billy Bookcases we retook the measurements and figured out we needed six of them.

The next step was to order them and get them on their way since we had to have them shipped. To our dismay, they were out of them! Both sizes!!!
Thinking “How hard is it going to be to find bookcases? We started looking with confidence.” No luck at all.
Did you know there is nothing out there that matches the Ikea Billy Bookcase? Home Depot we thought had a match and I got them ordered. Put it together and it was so short. I had to return the others because they just wouldn’t work. Especially on my tall wall.
Two weeks had passed so looking at Ikea again to see if they got any in stock. Guess what they had them but…
Yes there is a but.
They were the shorter ones. Remember we took back the Home Depot bookcases. Checking the difference in the Ikea and Home Depot bookcases we found the Billy bookcase was still taller. Not wanting to wait any longer. I wanted this done before the holidays. They got ordered and within the week delivered.
Shorter Bookcase
Still wanting the height we looked into getting the addition you can buy to the Ikea Billy Bookcase but it wasn’t cost-effective. Opting to go with the shorter look. Despite this, they look great. I think the taller ones might have been too tall.
I’m not going to go step by step with instructions on how to do the bookcases. There are so many posts out there that already have that information. 11Magnolilane.com, RemingtonAvenue.com, and Blesserhouse.com. All 3 of them have great DIY instructions.
I’m sharing with you how you can take ideas from different DIYs and get the results you want. Also, give some tips along the way like how and when to level. Make sure you read through the whole post to see what we did before you start your project.

Start of Something Great
Taking the most inspiration from 11Magnolialane.com doing the wall to wall. We started by spacing each bookcase apart the same distance. Making sure they were secured to the wall attached to studs.
If you can’t get the exact distance apart that’s okay. Get it as close as you can. A few steps down you will take care of this.
Notice the tape on the walls in the picture below. That’s where the studs are located. The brackets we used came with the bookcase. Notice those laying on top in the picture. Additionally, this is a great time to level them. We were surprised at how unlevel our floor was. Using shims helped out a lot. They are a cheap easy way to get them level.

After securing them to the wall it was time to make them look like built-ins.
Making The Bookcase Look Built IN
Starting with the bottom first, we used 1x 6″ Primed Eased MDF boards to go along the bottom. This makes it look like one piece. We started here so the boards going between the bookcases would line up the same.
We measured the distance between each bookcase and decided on 1x 4″ wide boards. The boards we used are the Primed Eased MDF. They look more like the bookcase material to us.
First, we painted them with Lowes Valspar 2000 Satin Interior Paint in High Hide White. This matched our Ikea Billy Bookcase quite well. Any touch-ups needed were done at the end.
After measuring twice then cutting we secured them with the brad nail gun. That nail gun sure is a time saver. Makes the job so easy.
Notice on the picture below the board on the bottom and the side we started filling in the gaps. Do this all the way down.

Following the sides move up to the top. We opted for another 1×6″ MDF board with crown molding trim attached to it for a finished look.
See how we added electrical outlets below.


Electrical Outlets
Earlier mentioned was the electrical outlets being covered up. Still wanting access to the outlets for decorations or if we decide to add lights. First, we were planning on cutting holes in the back of the bookcases.
Clearly, this was going to be a hard task to do to make it look right. Along with leveling the shelves, the wall was a little in lack of a word wavy. Nevertheless, there was too much space in between the wall and the shelves.
Importantly we still wanted the electrical outlets. Needing to come up with a solution before we secured these all the way to the wall we brainstormed.
Differing from the plan we decided to get surge protectors with long cords. Running the cords back behind the bookcases up to the top of the shelves. This way we still have access to electricity.
Definitely not the plan we had at the start. Even so, I think I like it better. Without a doubt, it is easier to plug in the light on the top of the shelving for holidays.

Finishing Touches
Additionally, if you notice in the picture below we added MDF shelving boards on top. Being the staircase runs up right next to the Ikea Billy Bookcases the gaps needed to be covered up. This was a great solution.
The cords ran up between the gaps. Drilling holes on the edge of the boards for the cords to go through was the finishing touch.

Fill in all of the brad nail holes touch up the paint and it’s all done.
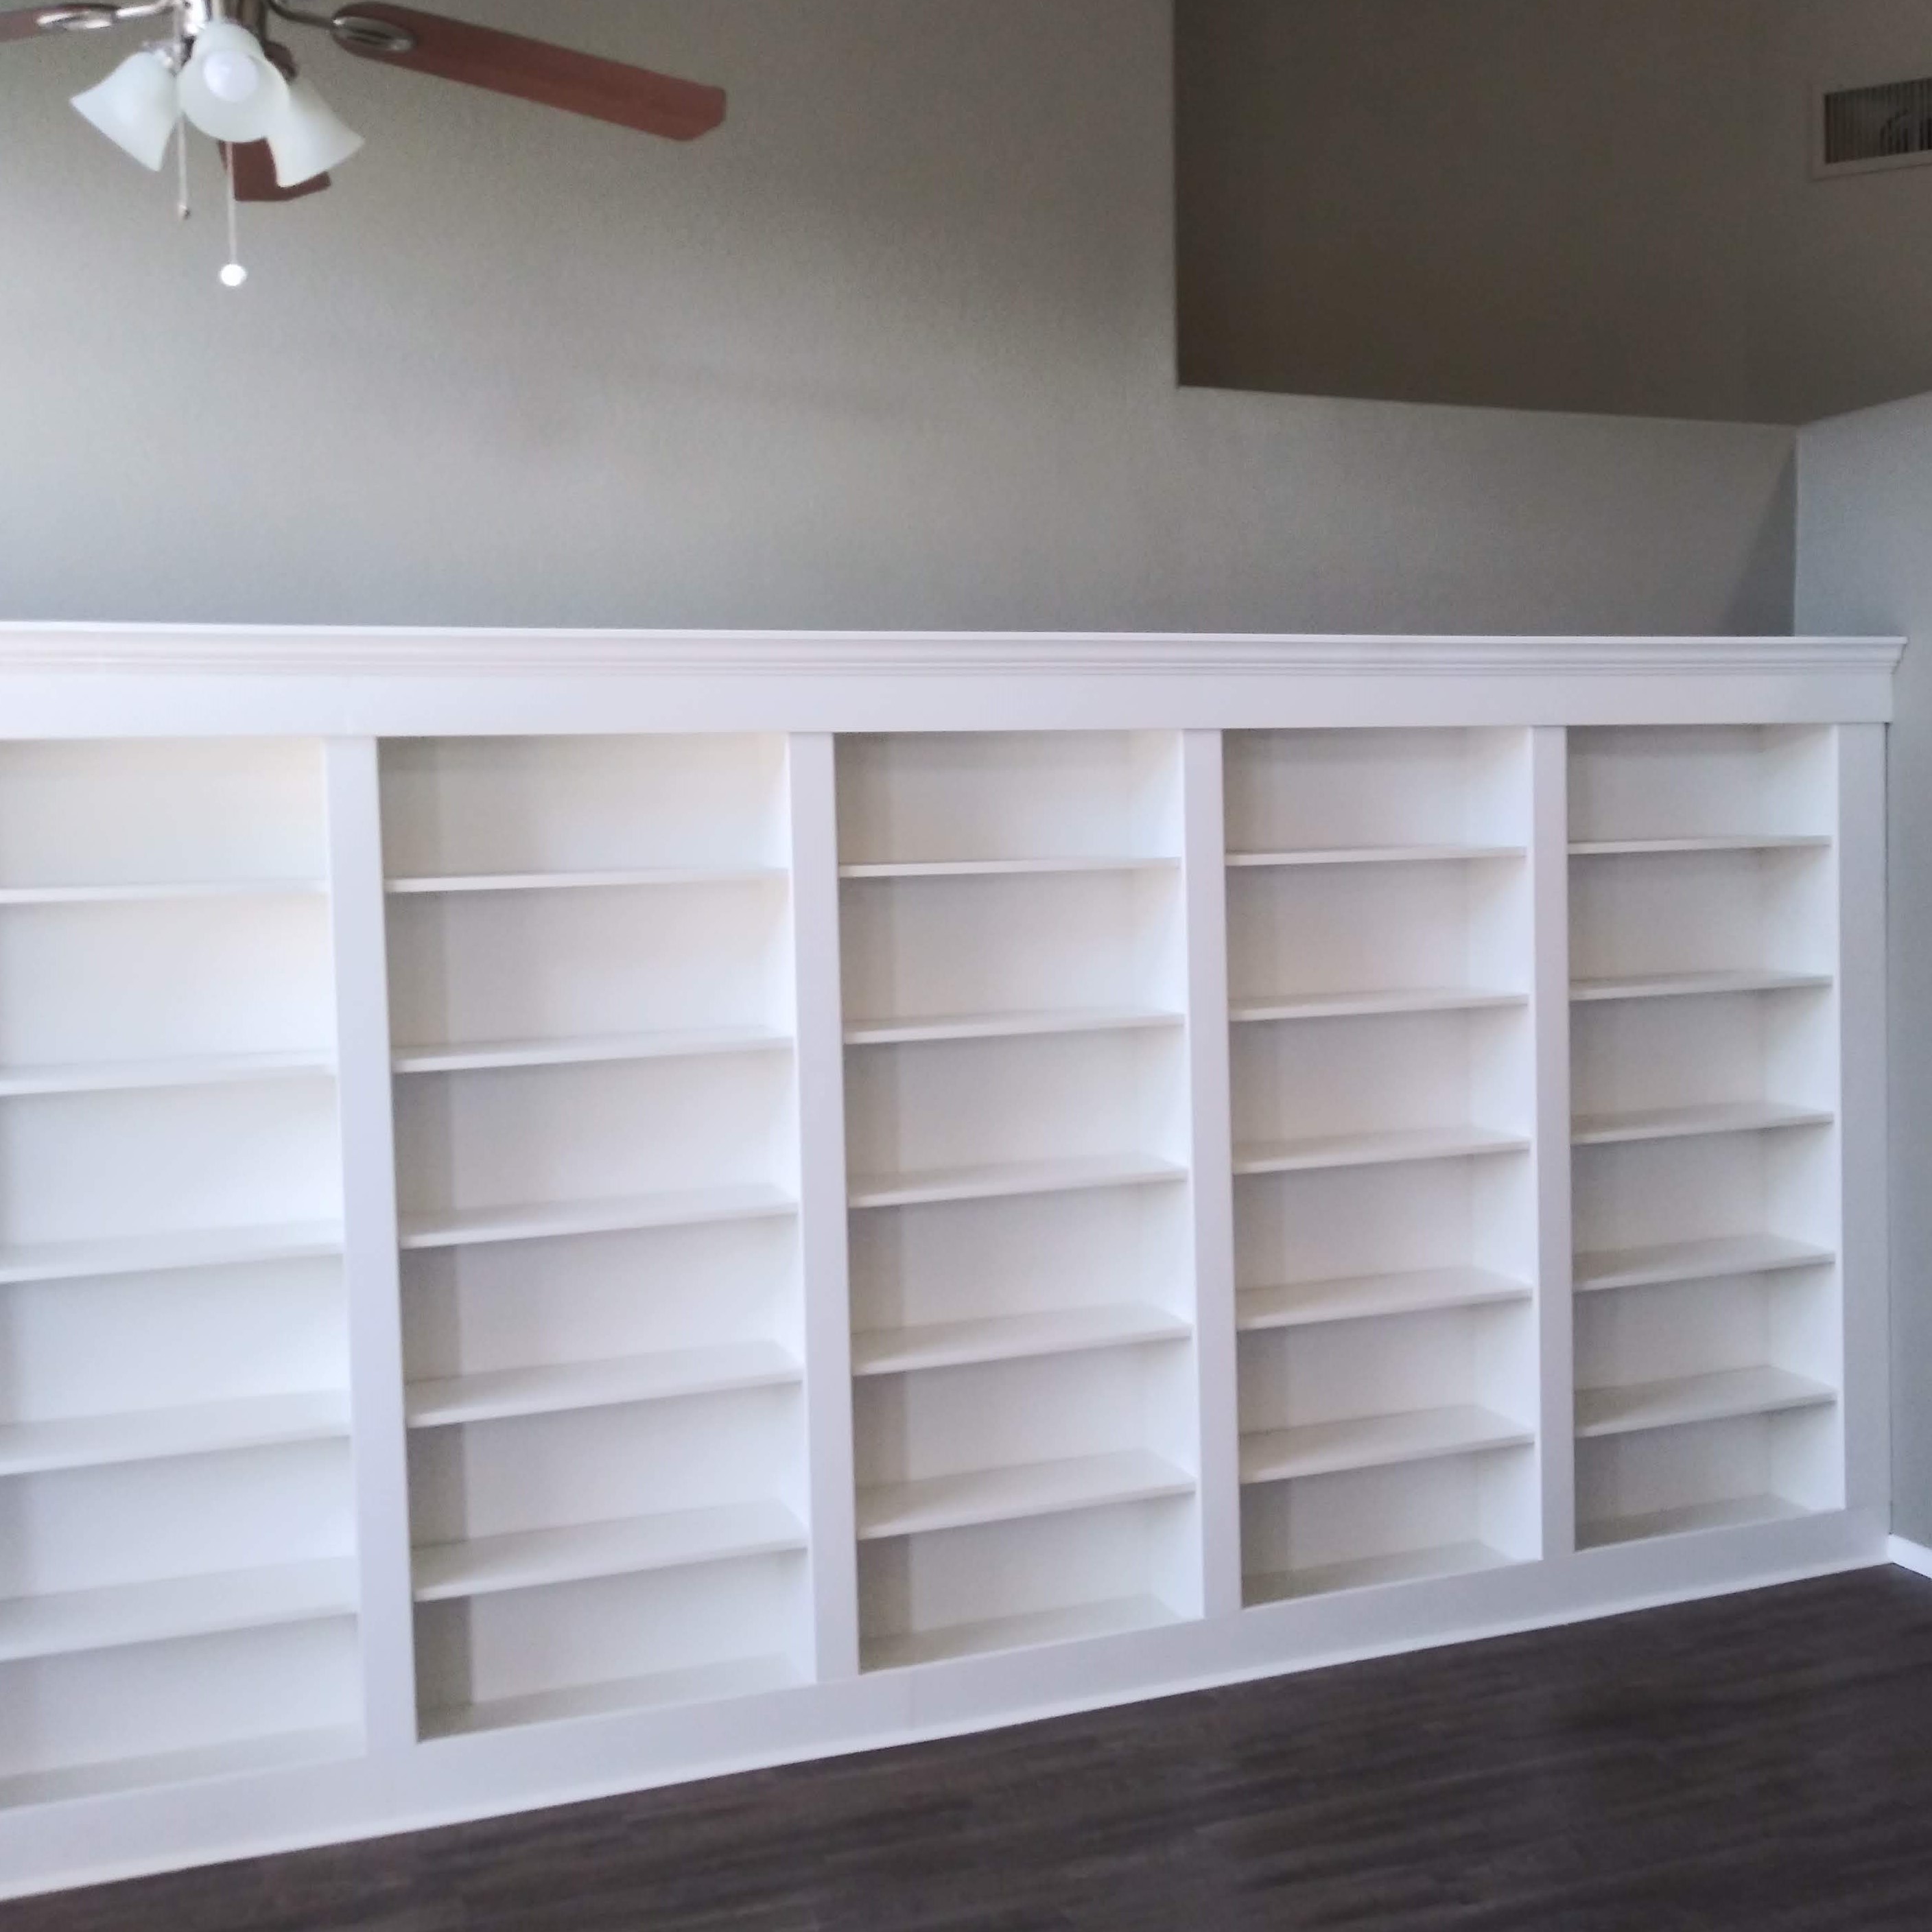
See our finished project below. It transformed our boring living room into something wonderful. Loving this look so much we might do something similar in our loft for the television and gaming.


Pin For Later
